
If you find yourself craving those large, decorated chocolate chip cookie cakes you can get at the mall, then you’ll love this post about making one for a celebratory occasion or as a gift for someone special.
I love classic-sized chocolate chip cookies as much as anyone else, but making a huge chocolate chip as a cookie cake is truly something fun and different. I can thank the Covid-19 pandemic for inspiring me to make chocolate chip cookie cakes as gifts. My daughter and I have made them for Canada Day, as graduation gifts, and as hostess gifts. You can check out my last post (click here) on making graduation day memorable with lots of desserts, including this cookie cake.
There are many recipes online for making a chocolate chip cookie cake. I like this recipe from Garnish and Glaze, which I’ve also included at the bottom of this page.
The point of this post, however, is to share my tips for making and gifting this chocolate chip cookie cake!
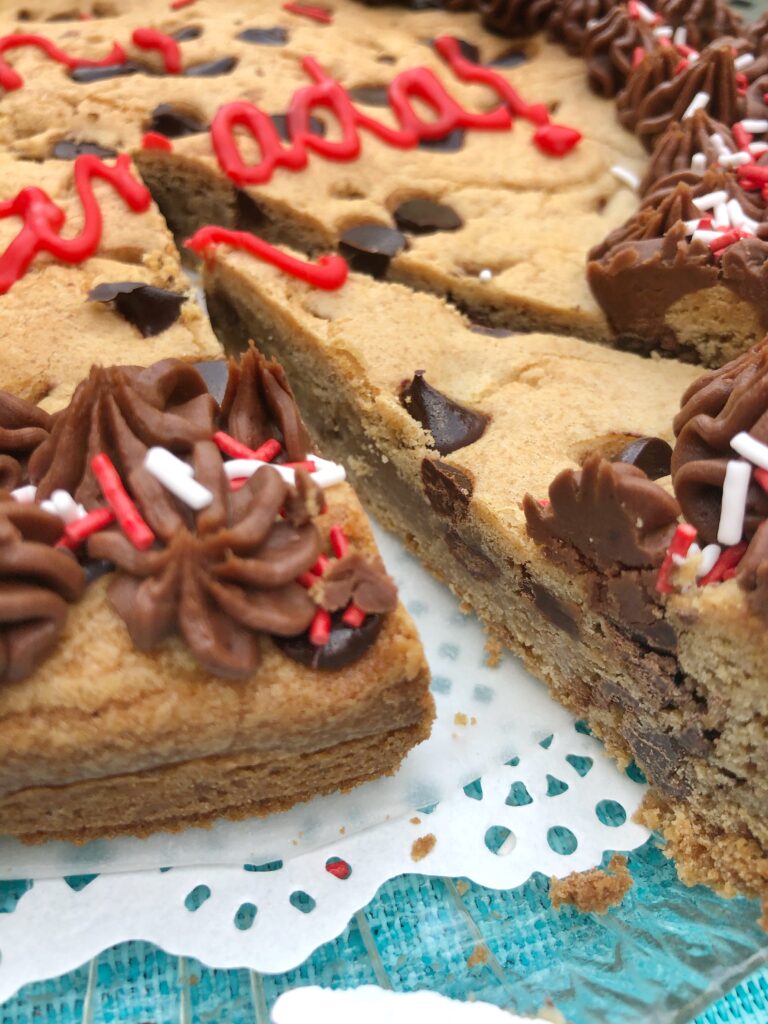
I’m sure many of you have bought and loved the Mrs Fields cookies found at the mall. They’re personalized, delicious, and a consumable gift. I’m a huge fan of consumable gifts for various reasons, mainly that it’s shareable immediately and creates little waste. How environmentally friendly is that?!
Here are my tips for making a chocolate chip cookie cake as a gift:
- Check with your local baking supply store or bulk food store about the sizes of baking boxes they carry. You will want to bake a cake that fits into one of these boxes! For example, I called my bulk food store and found out that they only had the 9 inch cake boxes in stock, which meant that I had to use an 8 or 9 inch cake pan. Sounds basic, but you don’t want to make a 10 inch cake and have no box for it. BTW, if you’re not gifting this cake, a 10 inch one allows for a bigger message-writing surface.
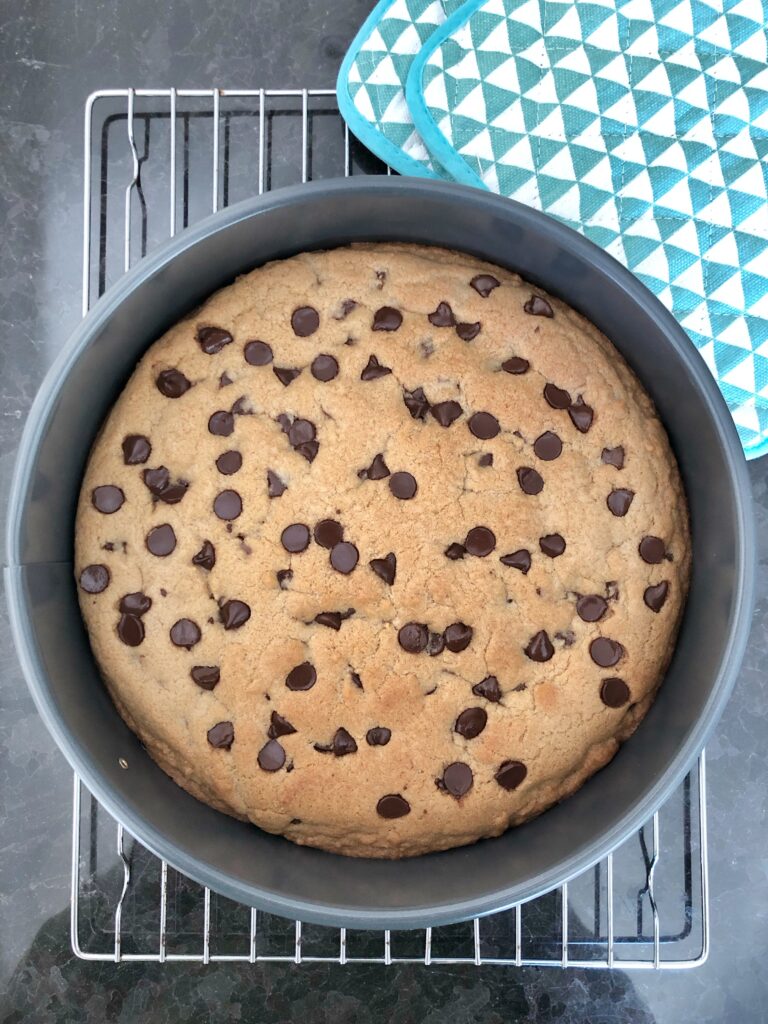
Chocolate Chip Cookie Cake - Use a springform pan to bake the cookie cake. It’s got a cleaner edge, looks more professional for gifting, and it’s easier to remove from the pan. You can use pie dishes or regular baking pans if you don’t have a springform pan. And, consider using a heart-shaped pan or any other unique shape. I have even baked these in pumpkin and Christmas tree shapes, and they’re super festive.
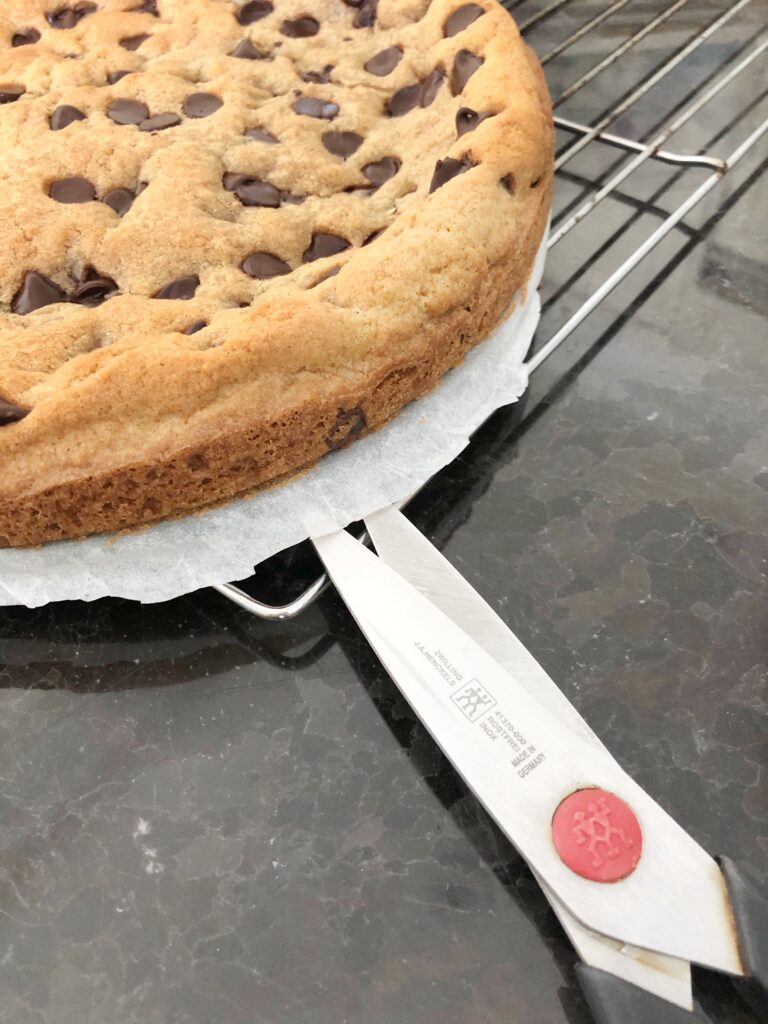
- Use parchment paper at the bottom of your springform pan for easy removal of the cookie after you’ve iced it. When you line the springform pan with parchment paper and it gets pinched into place, you will have some overhang. Trim around the bottom of the pan before baking and trim again after it’s baked and cool. Be careful that the cake doesn’t slide off and fall as you’re trimming around the finished product!
Chocolate Chip Cookie Cake - Make sure you have different chocolate chip flavors on hand, like dark, semi-sweet, milk, white, butterscotch, and sea salt caramel. This way, you can customize each cookie cake for the recipient.
- Make sure you keep some of the chocolate chips for the top of the cake! Pressing in part of the chips on top of the cake prior to baking makes a big difference in how the finished cake looks. The chocolate chips will appear shiny and distinct in the final product. You can use a combination of chip flavors for different tastes and results. I especially like using mainly semi-sweet chocolate chips in the cookie dough (7/8 c) and using 2 tablespoons of butterscotch chips for the top.
Chocolate Chip Cookie Cake - Use any frosting you want on top of the cake for decorating it. I am partial to the chocolate icing recipe included below because it contains a minimal amount of milk (you can sub plant-based milk), making it less of a worry when it comes to the cookie being left out of the fridge. If you decorate using buttercream, then you have to let the recipient know to keep the cake in the fridge.
- Make sure the frosting is not too thick! I have made that mistake once and never again. The icing has to come out of a piping bag easily and be able to ‘attract’ sprinkles so they stick to the frosting. I use the medium sized zip-lock bags fitted with a rosette tip.
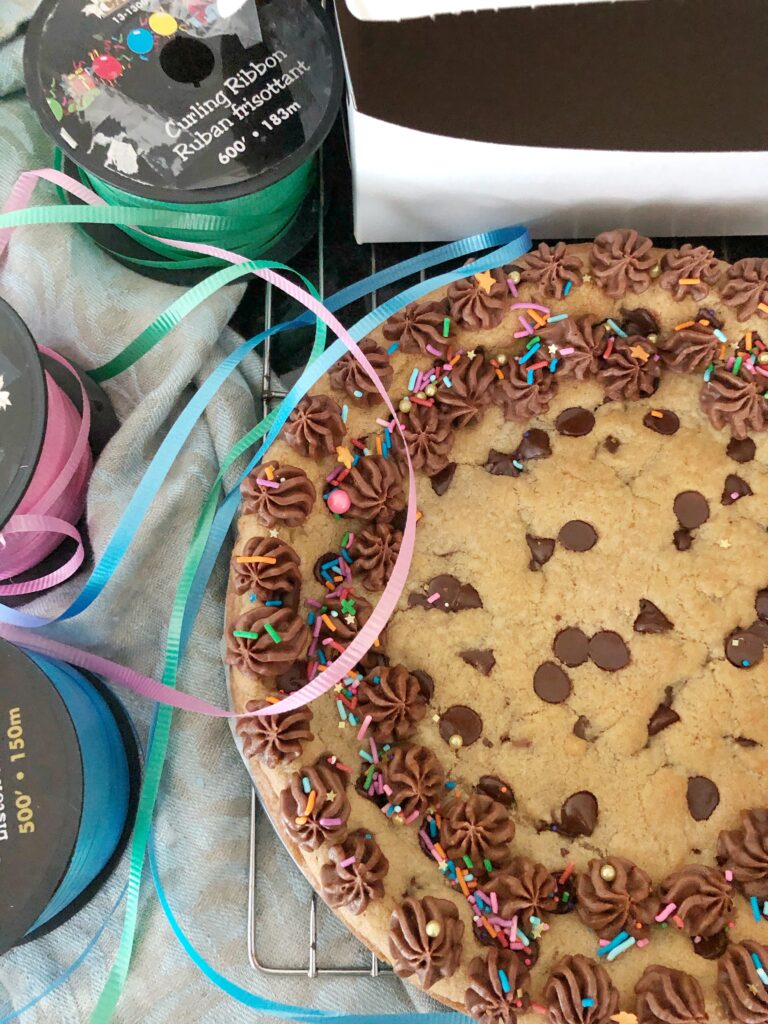
- Make sure you ration out your frosting to decorate the whole cake! If you use a huge piping tip and make large rosettes, you might only have enough frosting to decorate the outside edge of the cake. I used a small rosette piping tip. To keep myself on track, I start out by piping rosettes about 2 inches apart, then go back and fill in between them. Then I do the same thing for an interior set of rosettes, and I stagger the inside set of rosettes. I keep going until I run out of frosting.
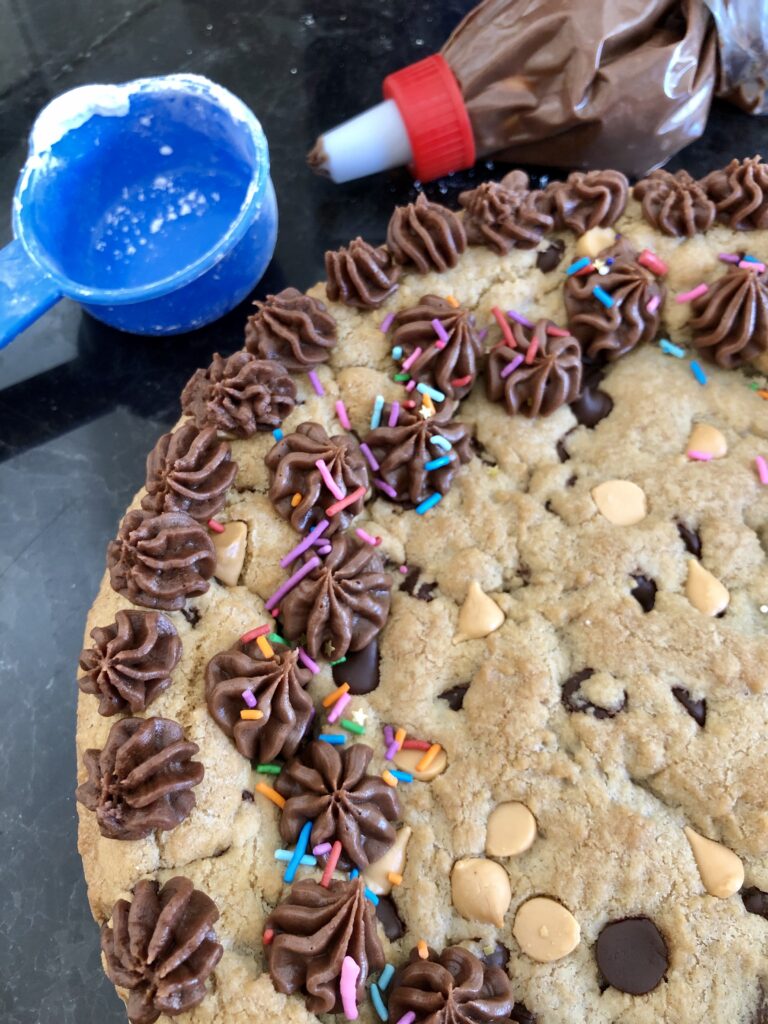
Chocolate Chip Cookie Cake - Use store-bought icing to write messages and embellish your cake. The surface of the cake available for writing anything is very small. You don’t want to make a batch of icing to write a simple and short message. Or, just leave the center empty. The cake is sweet enough on its own.

Chocolate Chip Cookie Cake - Use fun sprinkles! Again, this cake is not huge and you don’t need a ton of sprinkles, so go for the really fun and fancy kind if that’s what you want to do.
- Don’t forget to consider these options when it comes to making and decorating a cookie cake:
* Use colored buttercream frosting to match a theme
* Press M&Ms, Smarties, or toffee bits on top of the cake
* Press mini Reese’s peanut butter cups on top
* Drizzle melted chocolate chips on top instead of piped icing
* Melt colored chocolate melts and drizzle on top
* Ice the whole cookie cake, as if it’s a regular cake! - Use curling ribbon or baker’s twine to tie the box shut. Decorate the outside with stickers or markers to include a fun message, or leave it plain and let the ribbons do the talking.
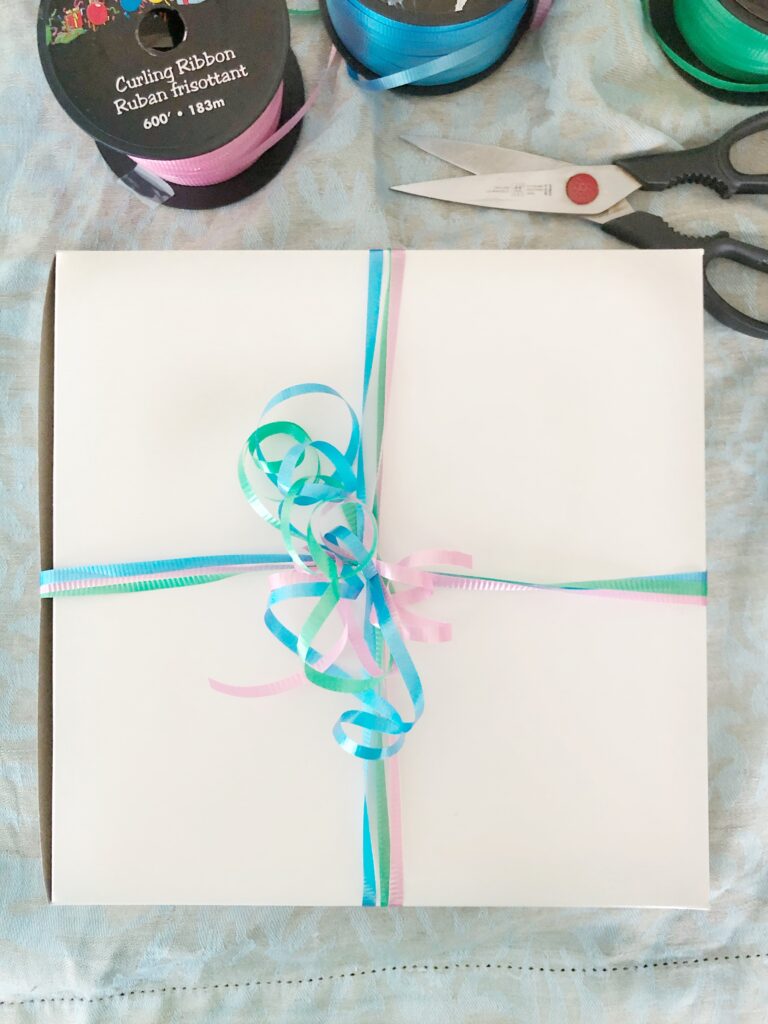
Chocolate Chip Cookie Cake - Keep the cake in the box in the fridge while you’re waiting to deliver it. It lasts longer and the icing will stay intact during transport.
- Cut the cake into pie-shaped pieces using a sharp knife, or let guests break off pieces to enjoy.
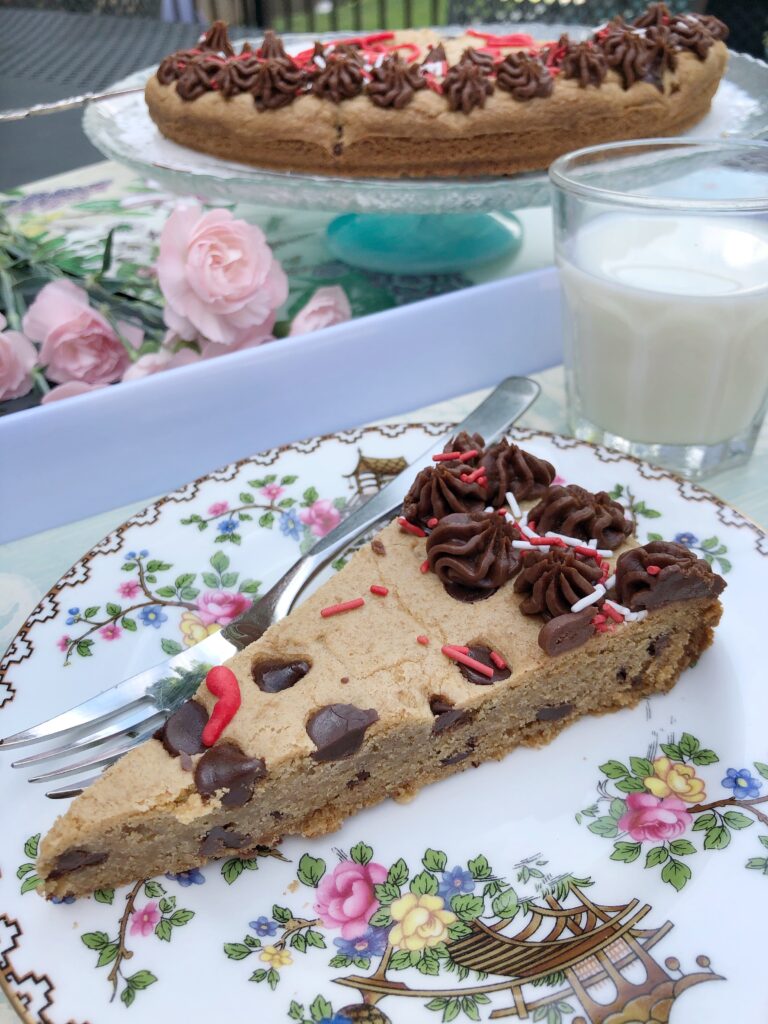
Chocolate Chip Cookie Cake
I hope you are inspired to make a chocolate chip cookie cake as a gift! It’s really easy and it’s always an appreciated gift all around.
Chocolate Chip Cookie Cake
(recipe from Garnish and Glaze)
For The Chocolate Chip Cookie
10 T unsalted butter, room temperature
2/3 c brown sugar
1/3 c granulated sugar
1 egg and 1 egg yolk
1 tsp vanilla
1 2/3 c all-purpose flour
3/4 tsp salt
3/4 tsp baking soda
1 c chocolate chips, divided
For The Chocolate Frosting
4 T unsalted butter, room temperature
2 T powdered cocoa
1 1/4 powdered sugar
1/2 tsp vanilla
1 T milk
Sprinkles, store-bought icing, etc for decorations
Method:
- Preheat oven to 350
- Line the removable bottom of a 9 or 10 inch springform pan with parchment paper and secure into place. Trim the excess parchment paper. If using a pie dish or cake pan, grease them first.
- Cream the butter and sugars for two minutes, then add in the eggs and vanilla
- Add the dry ingredients and mix until combined
- Add the chocolate chips by stirring them in with a spatula or wooden spoon, reserving 2 tablespoons of the chips to place on top of the cake
- Spread the batter into the pan. Scatter and press the chips on top of the batter
- Bake for 22-25 minutes depending on the size of your cake. Bake until slightly browned at the sides
- For the frosting, mix the ingredients until well combined, starting out with 1 T of milk and adding a bit at a time until you get a smooth consistency
- Use any tip you would like to pipe on the frosting and decorate with sprinkles
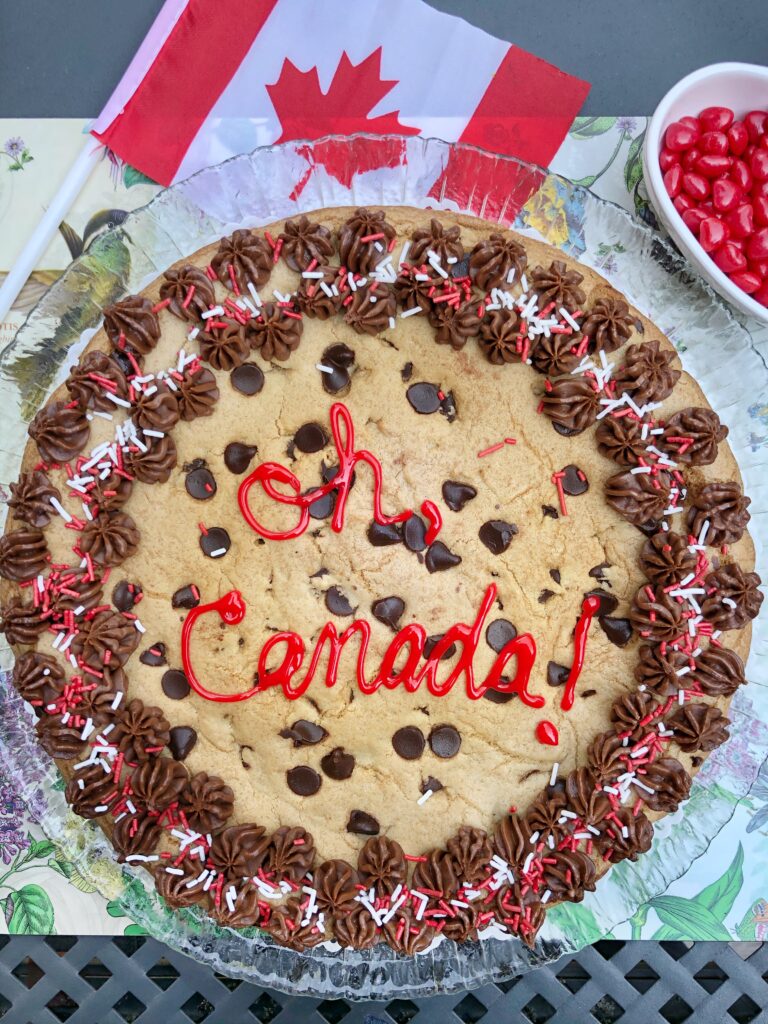
Enjoy! And, please share the different ways you have decorated your chocolate chip cookie cake.
 Email This Post