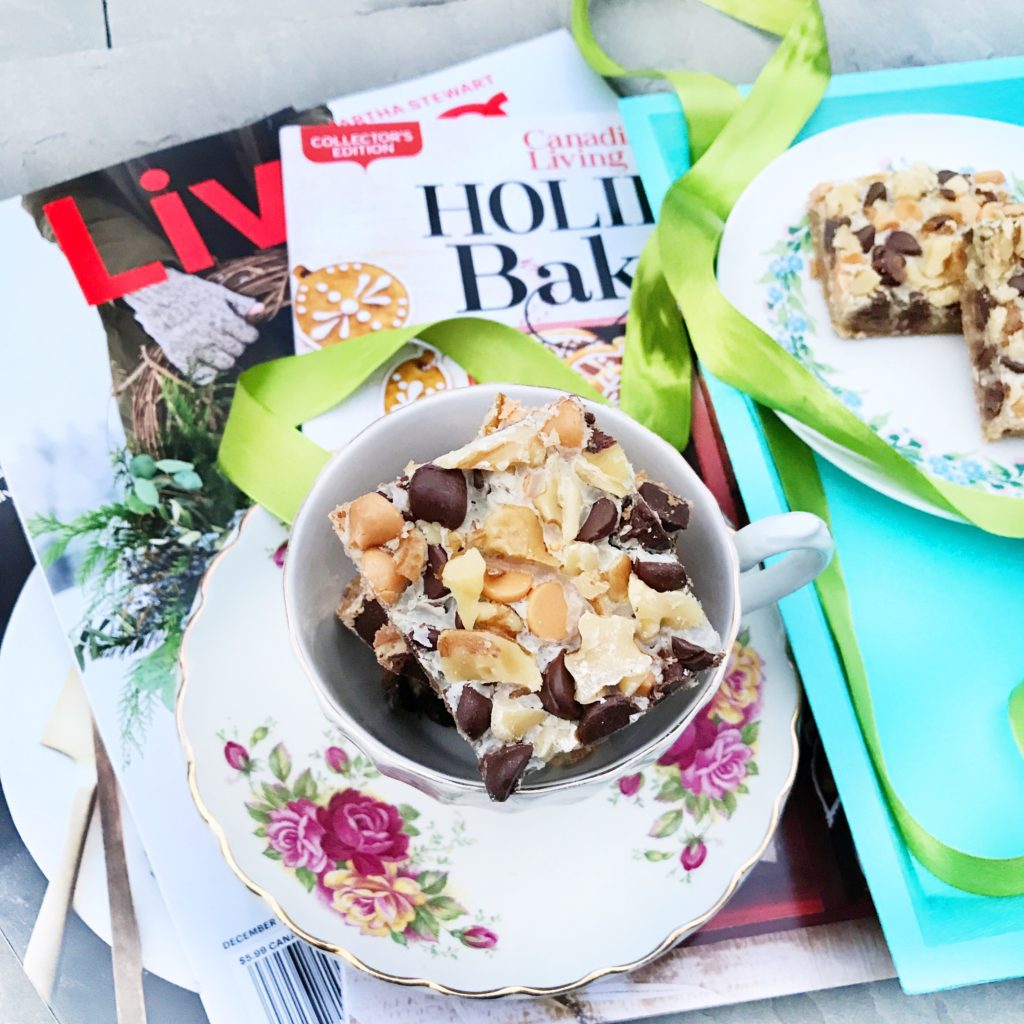
 I love to bake and it’s something that I do several times a week, all year long! People ask me what I do with all the baked goodies, but the truth is that we eat most of them, take them for school lunches, and share them with friends. The latter is especially true around the holidays, because we end up gifting a lot of baked treats. It does take a bit of planning to get it done effortlessly, so I’m sharing my 8 steps for stress-free holiday baking!
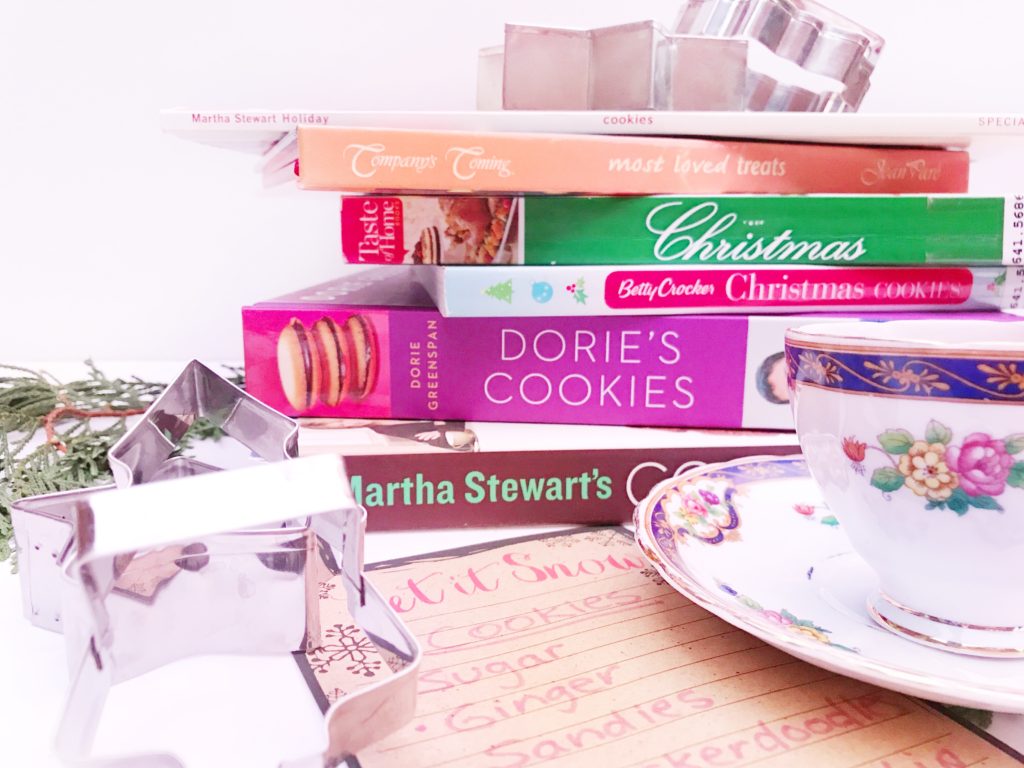 Step 1: Make a list of what you want to bake
This step sort of starts itself around the beginning of October when you see holiday baking magazines in the check-out aisle. It’s easy to get inspired and reminded about what you want to bake. I usually take out holiday baking books from the library and do some online searches. I also ask my husband and kids what their favorite treats are, and I add them to my list. Don’t be afraid to try new recipes, because it’s always fun to find new favorites. Stay tuned for an upcoming post on some new treats I’m going to bake this year!
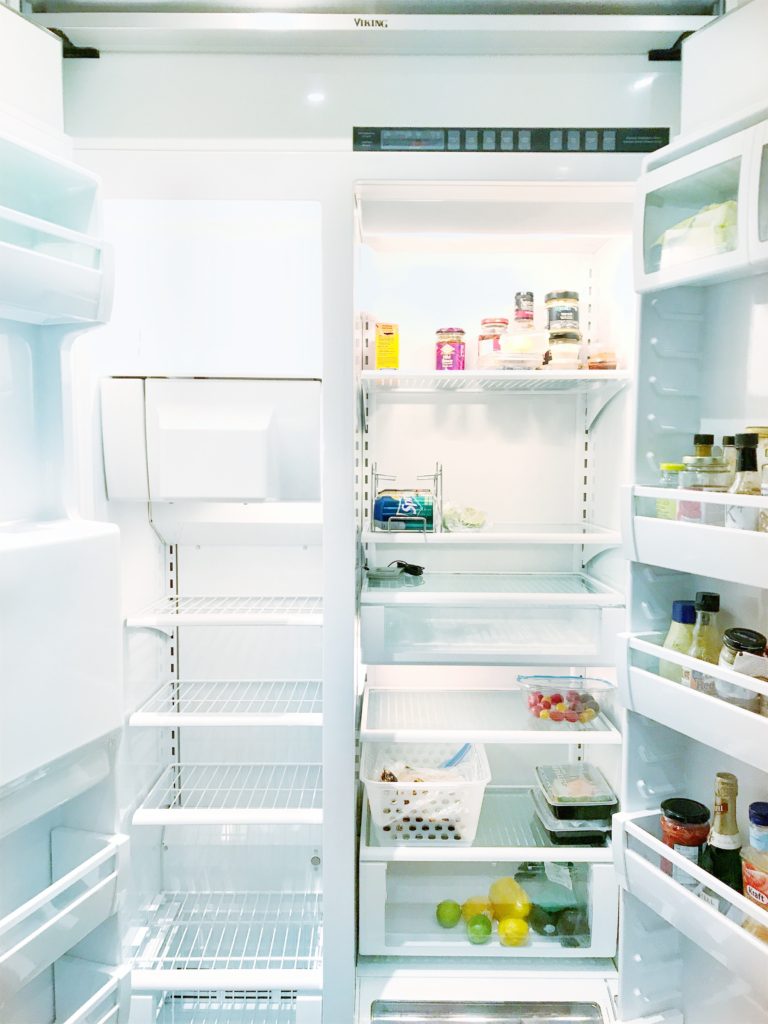 Step 2: Clean out the freezer and fridge
Although we have a frost-free fridge, I still find that there is some frost build-up in the bottom of the freezer. This is probably because of the uneven temperatures in our kitchen and because we open and close the fridge a lot. I find the beginning of the holiday season to be the best time to do a big clean. Purging expired and freezer-burned food clears space for storing all of the holiday goodies. This takes me 24 hours to do as I let the fridge sit overnight, but it feels so good to start the holiday season with a clean and empty freezer!
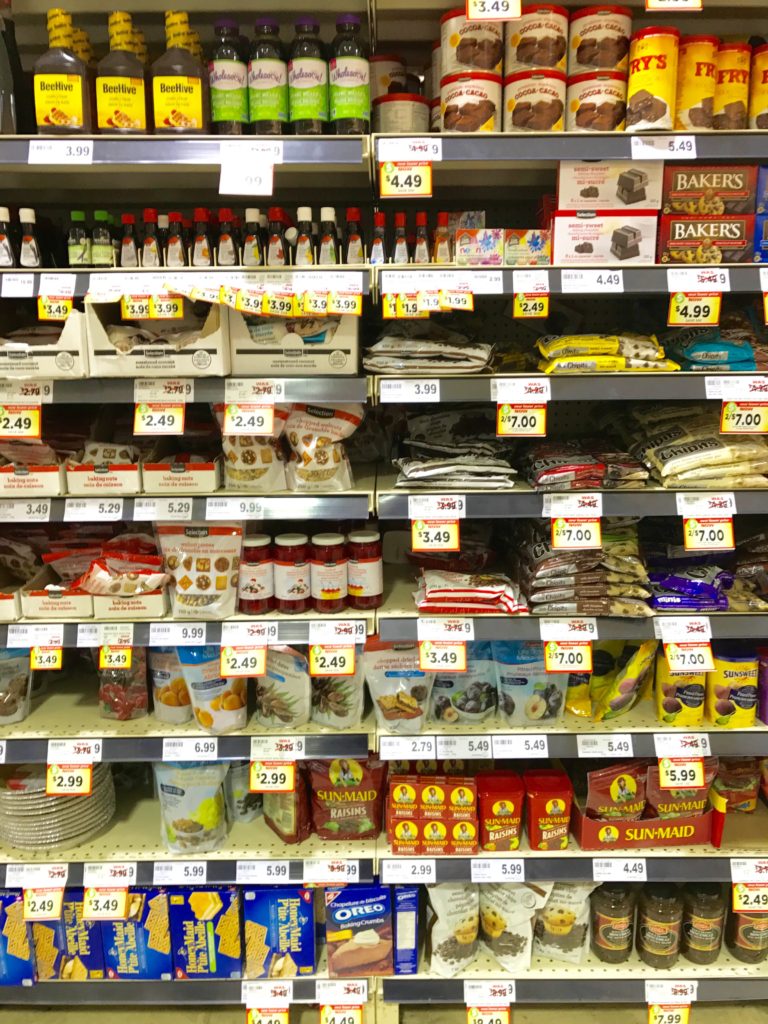
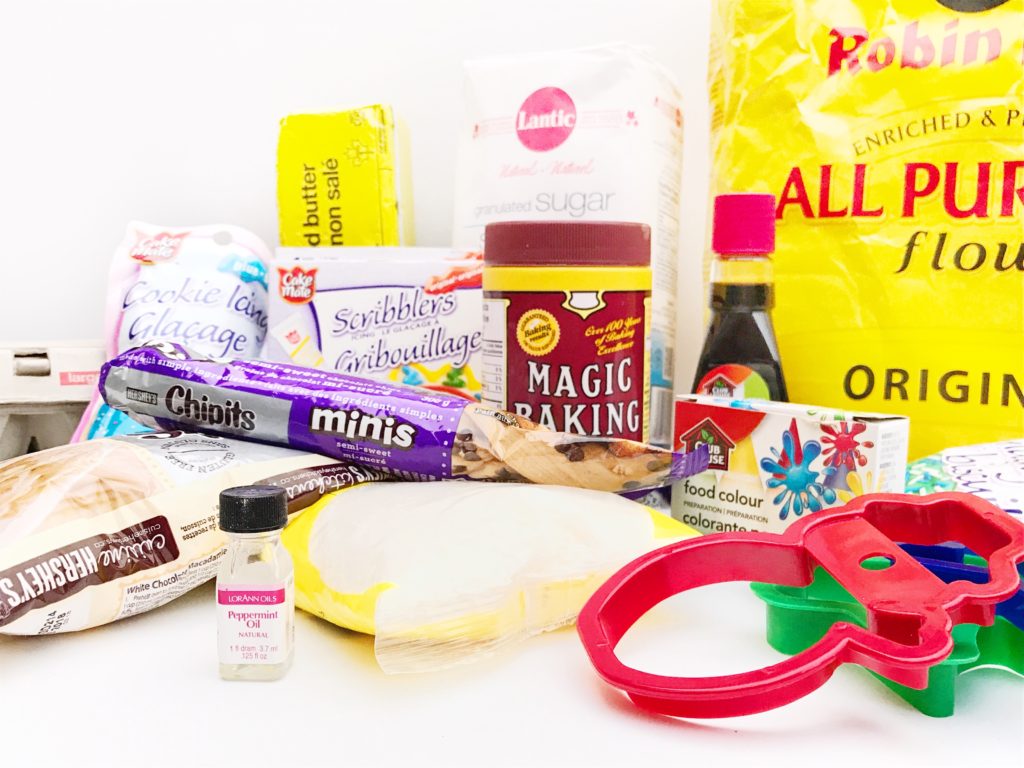 Step 3: Take an audit of your ingredients, spices, and flavourings
This time of year seems to have its own smells and tastes, made possible by spices like nutmeg, cloves, ginger, and cream of tartar. Flavors like peppermint and coconut, almond, and orange also figure in holiday baking. Take a few minutes to check out your supply and how old it is. If you can’t remember how long you’ve had some ingredients, toss them and get new ones.
As you’re making your holiday baking list and taking stock of what’s in your cupboards, keep a list of what ingredients you need. This includes spices as well as basics like flour, the sugars (granulated, brown, powdered, turbinado, etc.), baking soda and baking powder, vanilla, cocoa, and molasses. Don’t forget icing tubes, sprinkles, and food coloring. I always have a steady stock of butter, milk, condensed and evaporated milk, eggs, and cream cheese on hand as well.
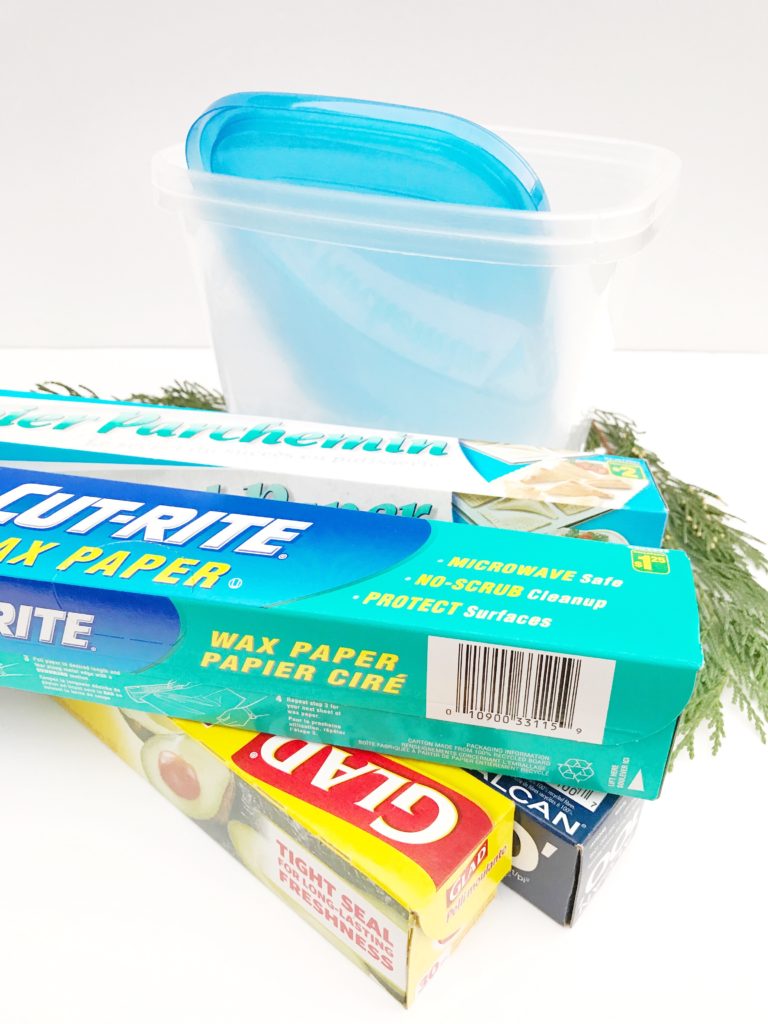 Step 4: Take an audit of storage containers and food wrap
If you’re like me, your storage containers have been to school or to friends’ houses and the tops and bottoms don’t fit together so well. Take out your containers and figure out what needs to be replaced and what new items you need. This includes parchment and wax paper, as well as ziplock and airtight containers. To make things as stress-free as possible, I recommend you have your containers lined up before you do any baking and I recommend using similar-looking containers that stack easily together.
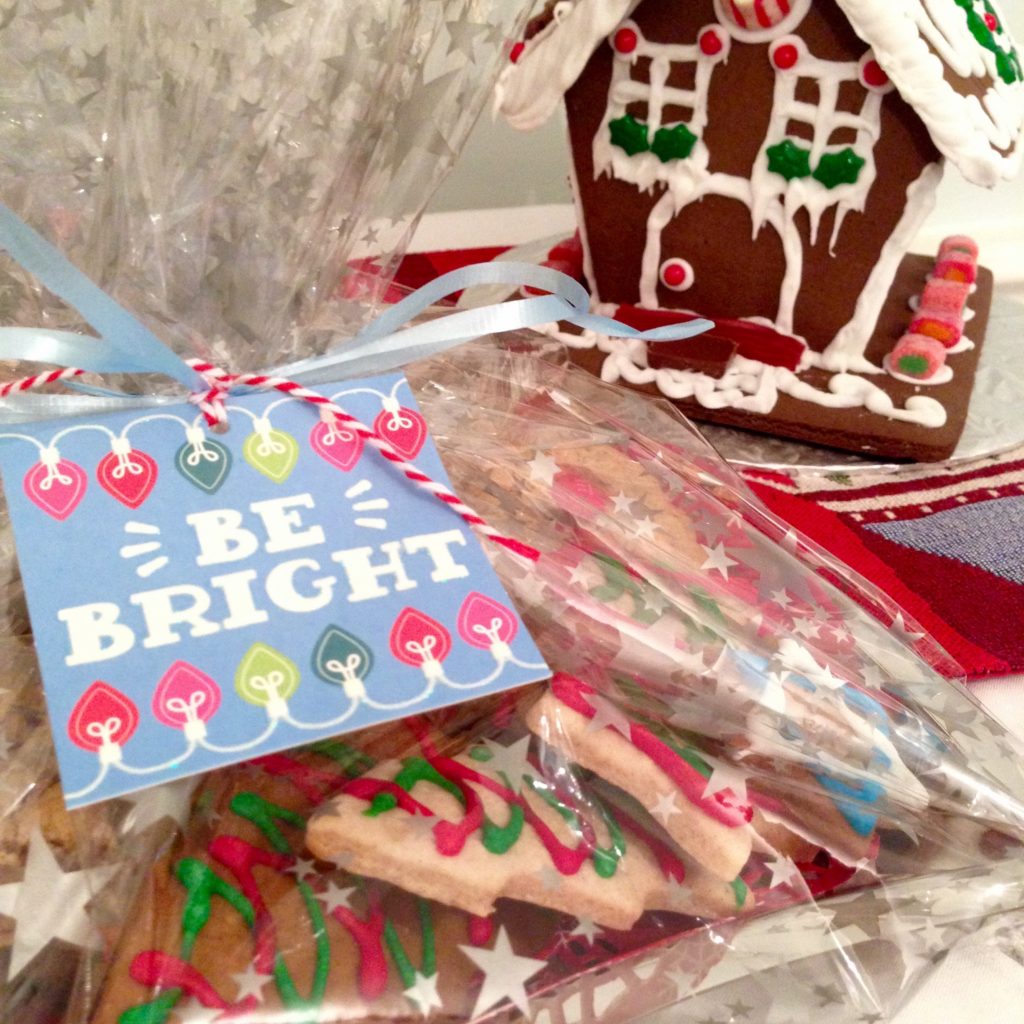
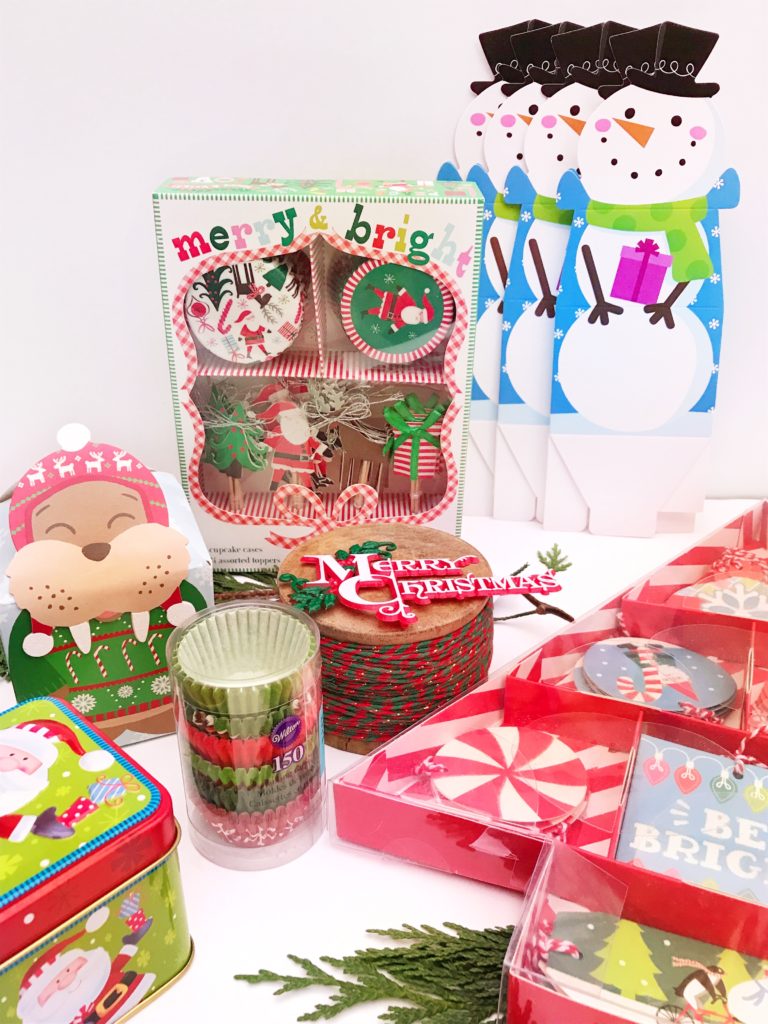 Step 5: Gather all of the gifting containers
If you love to bake, then your holiday baking treats provide you with a ready supply of gifts for friends, family, teachers, hairdressers, work colleagues, etc. Take an inventory of the gift containers you have and supplement with new, creative containers that you find at the dollar store or nearby discount stores. My favorite stores for holiday packaging containers are: Dollarama, Winners (TJ Maxx), Homesense, Bulk Barn, Wal-mart, Canadian Tire, and Michaels. Each year I’m tempted by the new designs and types of containers – they are just so cute!
You can also use tea cups, cello bags, or paper treat bags as containers. Make sure you have wrapping paper, twine, baker’s twine, tags, and ribbon for wrapping your gifts. And, stay tuned for an upcoming post on ideas for packaging homemade goodies!
 Step 6: Shop for your ingredients and supplies
If you’re a baker, you’re probably missing only a few items. If not, you might find that your next shopping trip will be focused on baking ingredients! I usually shop for all of my ingredients and supplies about a week before I know I’m going to be baking up a storm.
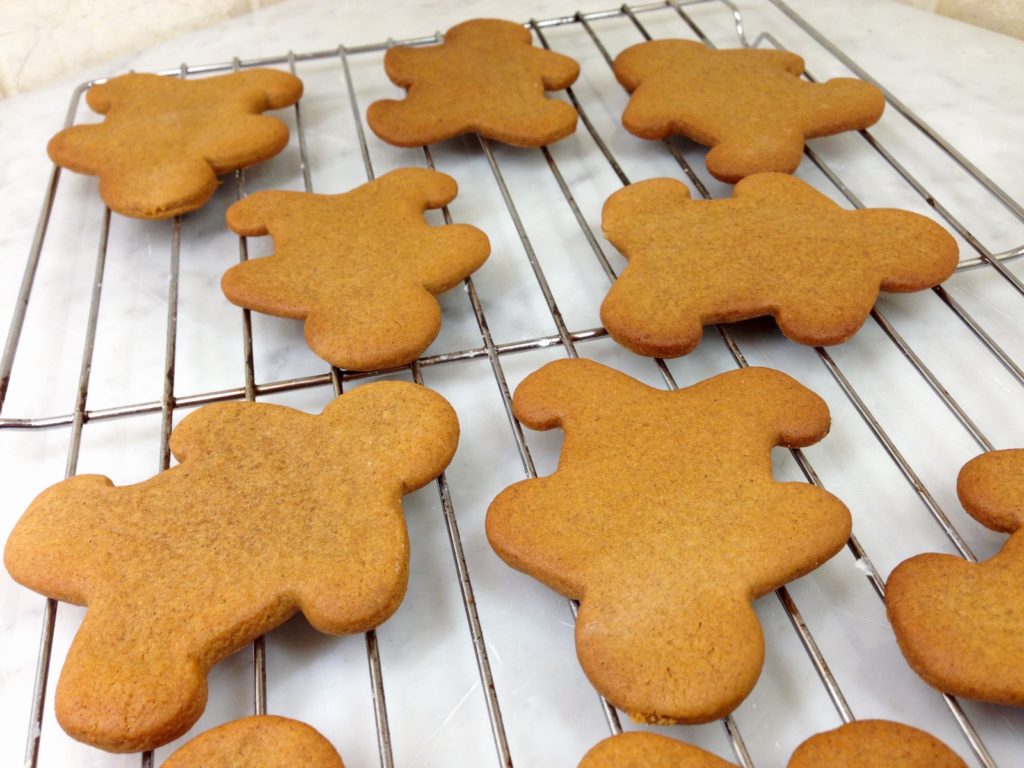 Step 7: Start baking
I think 4-6 weeks before Christmas is a good time to start your holiday baking, especially if you’re having a holiday party in the weeks leading up to Christmas. If you spend the good part of one week and one weekend baking (a recipe every night and a couple on the weekend), you should be in good shape. Involve the kids or friends to help out. Have a holiday baking evening with friends or neighbors. It’s more fun and people love getting together this time of year for some festive fun.
 Step 8: Package on demand
Remember when I talked about cleaning out the freezer? Well, if there’s only one tip you follow, it’s to have your freezer almost all dedicated to frozen baked goods. When you need to prepare a gift, grab the gift container and pull out all of your treat boxes and take a couple of cookies or bars from each box, and assemble your gift!
What steps, tips, and tricks do you have for getting your holiday baking done right? Enjoy!
 Email This Post
I am so jealous of your perfectly clean fridge and freezer and your superior level of organization. Let me know if you come across any excellent gluten free cookie recipes. Happy holidays!!!
Hi Carrie,
Thank you! I love having a clean fridge and freezer, too. It’s time consuming but totally worth it, especially around the holidays. I will let you know of any cookie recipes! Happy Holidays to you, too. Mary